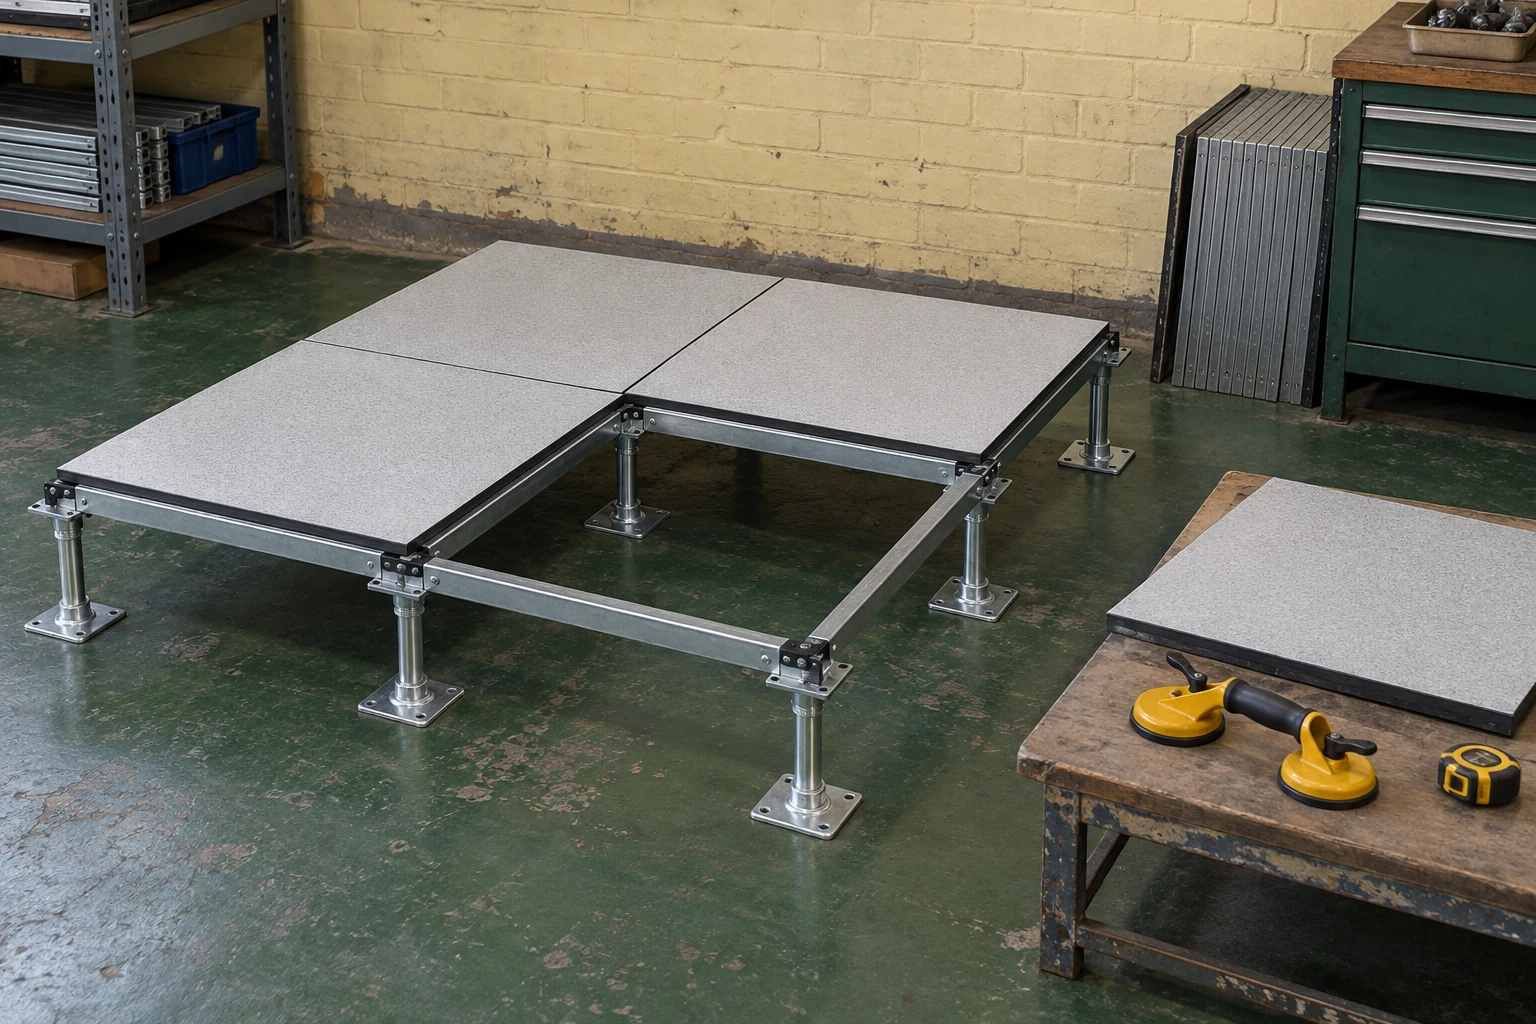
Raised Access Flooring
diy raised access flooring
| Kit grid | 600 × 600 mm metric module |
|---|---|
| Panel choices | 31 mm encapsulated wood core; 40 mm faced wood core |
| Low-height alternative | Separate 609.6 mm / 24 in system at 63.5–101.6 mm finished floor height |
| Included assembly scope | Matched panels, supports and specified connections to the agreed schedule |
| Boundary components | Perimeter support and designed transition details |
| Access tools | Lifting equipment compatible with the selected surface |
| Installation basis | System instructions, substrate acceptance and project-specific loading assessment |
An engineered kit requires its specified components and installation method. Floor height, fixing and loading suitability must be established for the actual room before assembly.
A coordinated floor package can be configured for the room, service routes and intended installation approach.
DIY raised access flooring in a commercial or technical room should begin with a matched engineered system and a clear division of work. The opportunity to assemble modular parts does not remove the need to assess the substrate, loads, services and safe access.
Decide what your team can take on
An experienced facilities team may be able to prepare a room survey, map existing services, identify access locations and organize materials. Structural loading decisions, fixing design, electrical work and specialized floor installation need people competent in those tasks.
Use the kit manufacturer's installation requirements to establish the work scope. If those requirements or the existing floor construction are unknown, resolve them before purchasing parts. A timber platform assembled from unrelated materials does not provide the same removable-panel system or documented performance.
Small room does not mean small load
A compact electrical room can contain concentrated cabinet feet or a heavy delivery load. Assess the equipment and its route into position even when the floor area is modest. A panel area calculation cannot establish loading suitability.
Prepare the layout before opening the kit
- Record the room. Measure fixed boundaries, door levels and slab variation. Locate existing services without disturbing them.
- Set the finished level. Allow for the panel, finish and understructure as well as the service space. Check adjoining transitions.
- Lay out the grid on paper. Identify narrow perimeter cuts, large openings and locations where a normal support would conflict with a service.
- Resolve special details. Obtain the appropriate support and fixing arrangement before site assembly begins.
These preparation steps reduce improvisation. They do not replace the selected system's installation sequence or the project's engineering requirements.
Avoid changes that quietly weaken the assembly
Moving a pedestal to make room for a pipe changes where the panel bears. Removing a stringer for easier cable routing changes the understructure. Cutting a large opening can leave an unsupported strip even when the remaining panel looks substantial. Such changes need a compatible support detail, not a judgement based only on appearance.
Likewise, extra loose packing beneath a rocking panel can hide a level, gasket or base-fixing problem. Identify and correct the cause using the system instructions. Keep the opening controlled during work and restore the support arrangement before the area returns to service.
Budget for a usable handover
Include the necessary tools, edge treatment, transitions, lifting method and final checks in the project cost. Time spent resolving an unsuitable substrate or missing special components can outweigh the saving from self-assembly. Keep a record of the installed parts and any special supports for future maintenance.
Before normal use, the responsible installer should confirm panel seating, levels, support connections and completion of the specified fixing process. Electrical services require their own appropriate checks. For projects with extensive cutouts, difficult substrates or heavy equipment, review the installation coordination requirements before deciding the final division of work.
A coordinated floor package can be configured for the room, service routes and intended installation approach.