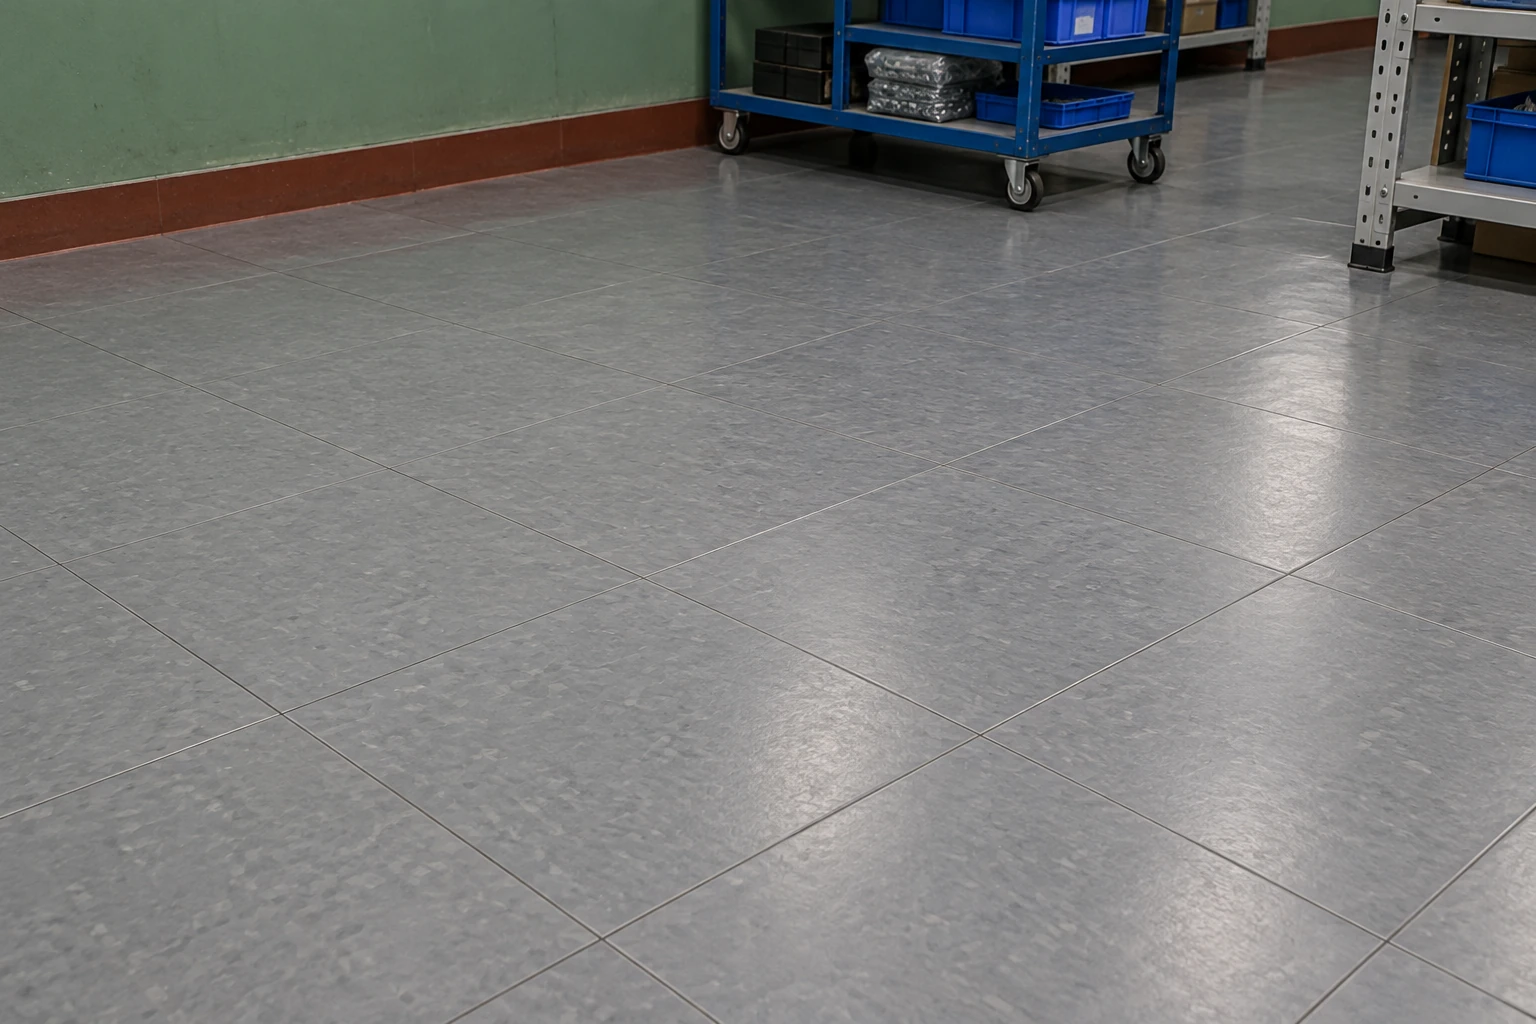
PVC Flooring
pvc flooring tiles
| Construction | Homogeneous PVC tiles for a bonded floor finish |
|---|---|
| Small square format, W × L | 300 × 300 mm; 2.0 or 2.5 mm overall thickness |
| Larger square format, W × L | 608 × 608 mm; 2.0 mm overall thickness |
| Layout options | Straight grid, coordinated border and planned perimeter cuts |
| Joints | Tight tile joints; seam treatment according to the selected system and cleaning duty |
| Associated materials | Compatible adhesive, edge profiles and identified replacement tiles |
Nominal formats are separate options. The installed floor requires product-specific preparation, adhesive and traffic-release conditions.
PVC flooring tiles create a modular surface across stores, laboratories, corridors and light industrial work areas. A successful layout balances the visible grid with the less visible requirements below it: substrate preparation, adhesive coverage and accommodation of the building's movement details.
A useful grid starts with the room
The longest wall is not always the best starting line. A doorway, a long aisle or a group of equipment bases may be the more important visual and working axis. Dry setting out reveals whether a neat first row would create narrow cuts at the far side or awkward fragments around columns.
Compare a small and a larger tile against the room plan. Larger pieces reduce the number of joints, but an irregular perimeter may produce less useful offcuts. Smaller tiles offer more flexibility around obstacles while increasing the number of individual pieces that must be aligned and bonded. The choice is a layout decision as well as a handling decision.
Use borders deliberately
A contrasting border can distinguish a walkway from a work area without introducing a different floor material. It should follow a coherent layout rather than becoming a collection of thin strips around every obstruction. At doorways, align the border with a suitable transition so that the edge remains protected.
Color boundaries do not replace the site's traffic or safety arrangements. If routes must move later, consider whether the floor pattern will still make sense, particularly around frequently reconfigured benches.
Control variation across the field
Keep the required tile direction consistent and follow the chosen product's batch-mixing instructions. Lighting can emphasize small differences along a long corridor. Lay out a representative area for agreement before committing the full floor, especially where a new extension meets aged material.
Hold spare tiles with their identity and storage conditions. A later delivery in the same named color may not be an invisible match to a surface that has experienced years of cleaning and traffic.
Protect the routes that do the hardest work
Loaded carts often follow a narrow route and turn at the same doorway. Assess those repeated contacts, not only the average activity across the room. Wheel size, tread material and debris carried into the area influence local damage. Good transitions help carts cross into adjacent finishes without striking an exposed tile edge.
During installation, building movement joints require their own detail. A line of tiles should not simply conceal a joint that is expected to move. Likewise, adhesive must suit the substrate and operating conditions; extra material thickness cannot correct weak or contaminated support below the floor.
Make localized replacement a controlled task
Investigate why a tile failed before replacing it. A single impact may require a small repair; a repeated line of lifting edges may indicate a substrate or movement problem. Keep the approved adhesive and joint method with the maintenance record. For a one-piece replacement, tile thickness, squareness and sample matching are more useful checks than color alone.
Tile color, grid layout, borders and the supply package can be customized to the room plan and workplace traffic.