Select a view. Click the large image to open it full size.
Cleanroom Mops
Cleanroom Wiper and Sponge Flat Mop
| Style | Flat mop with clamp-retained pad |
|---|---|
| Material | 1009D wiper fabric with sponge |
| Nominal size (mm) | 435 × 210 |
| Handle length | 72–135 cm |
| Pad packing | 10 pieces/inner pack; 10 inner packs/bag; 10 bags/carton |
| Cleanliness options | Class 100; Class 1000; general-purpose; custom supply grades |
| Documentation options | RoHS, cleanliness and sterilization reports for the selected supply grade; availability to be confirmed |
| Application sectors | Electronics, chemical processing, laboratories, semiconductors, pharmaceutical production and biomedical facilities |
Select the pad and clamp frame as a compatible pair. Fabric grade, cleaning chemistry and any sterilization documentation depend on the agreed supply specification.
Pad dimensions, frame matching and packaging can be customized to suit the cleaning process.
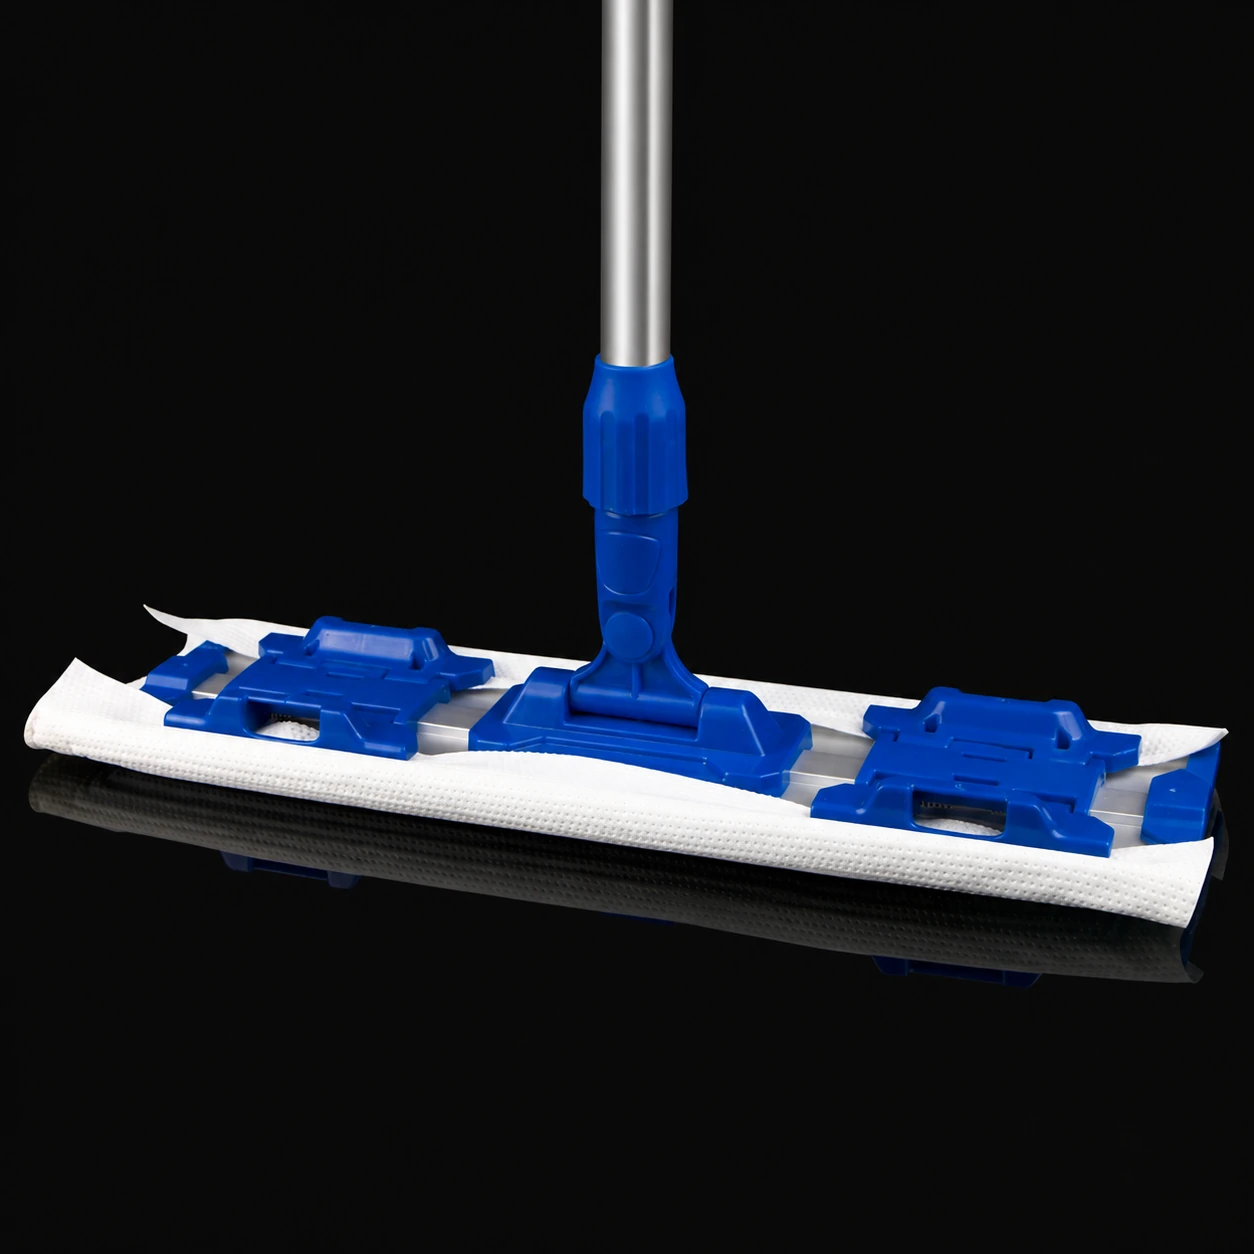
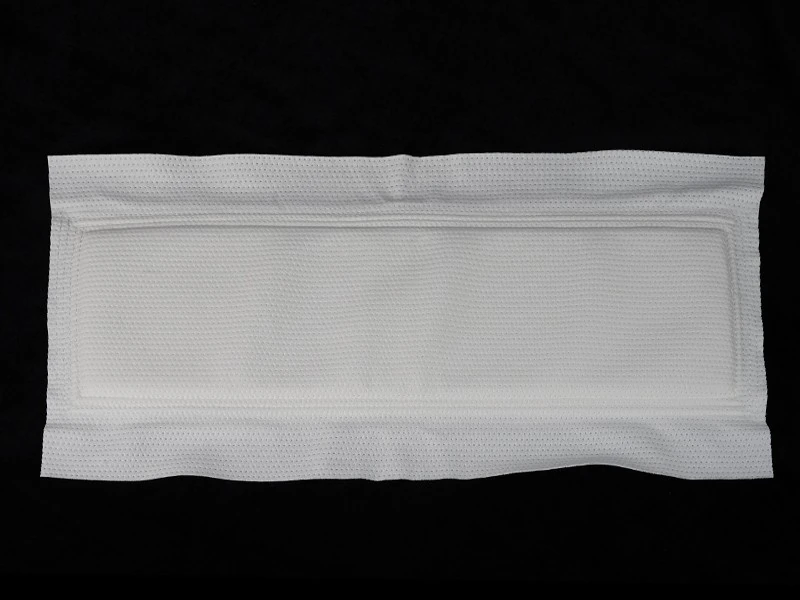
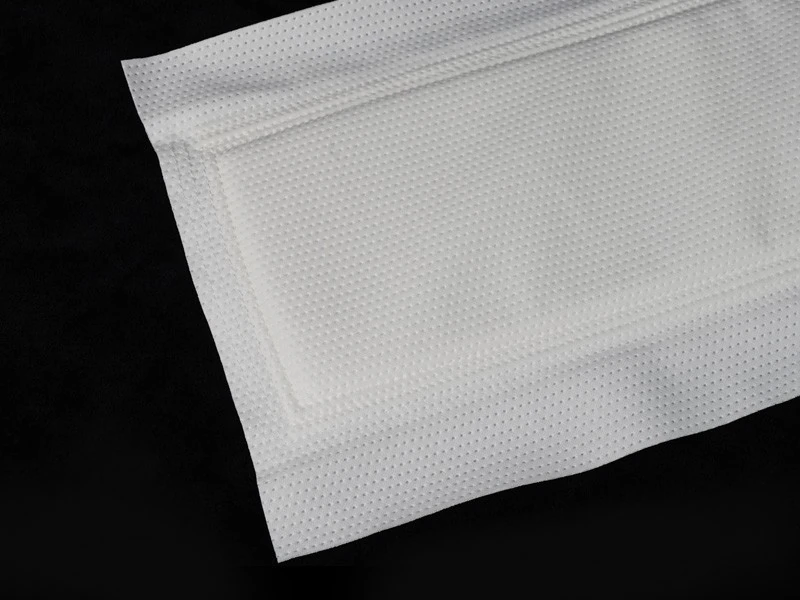
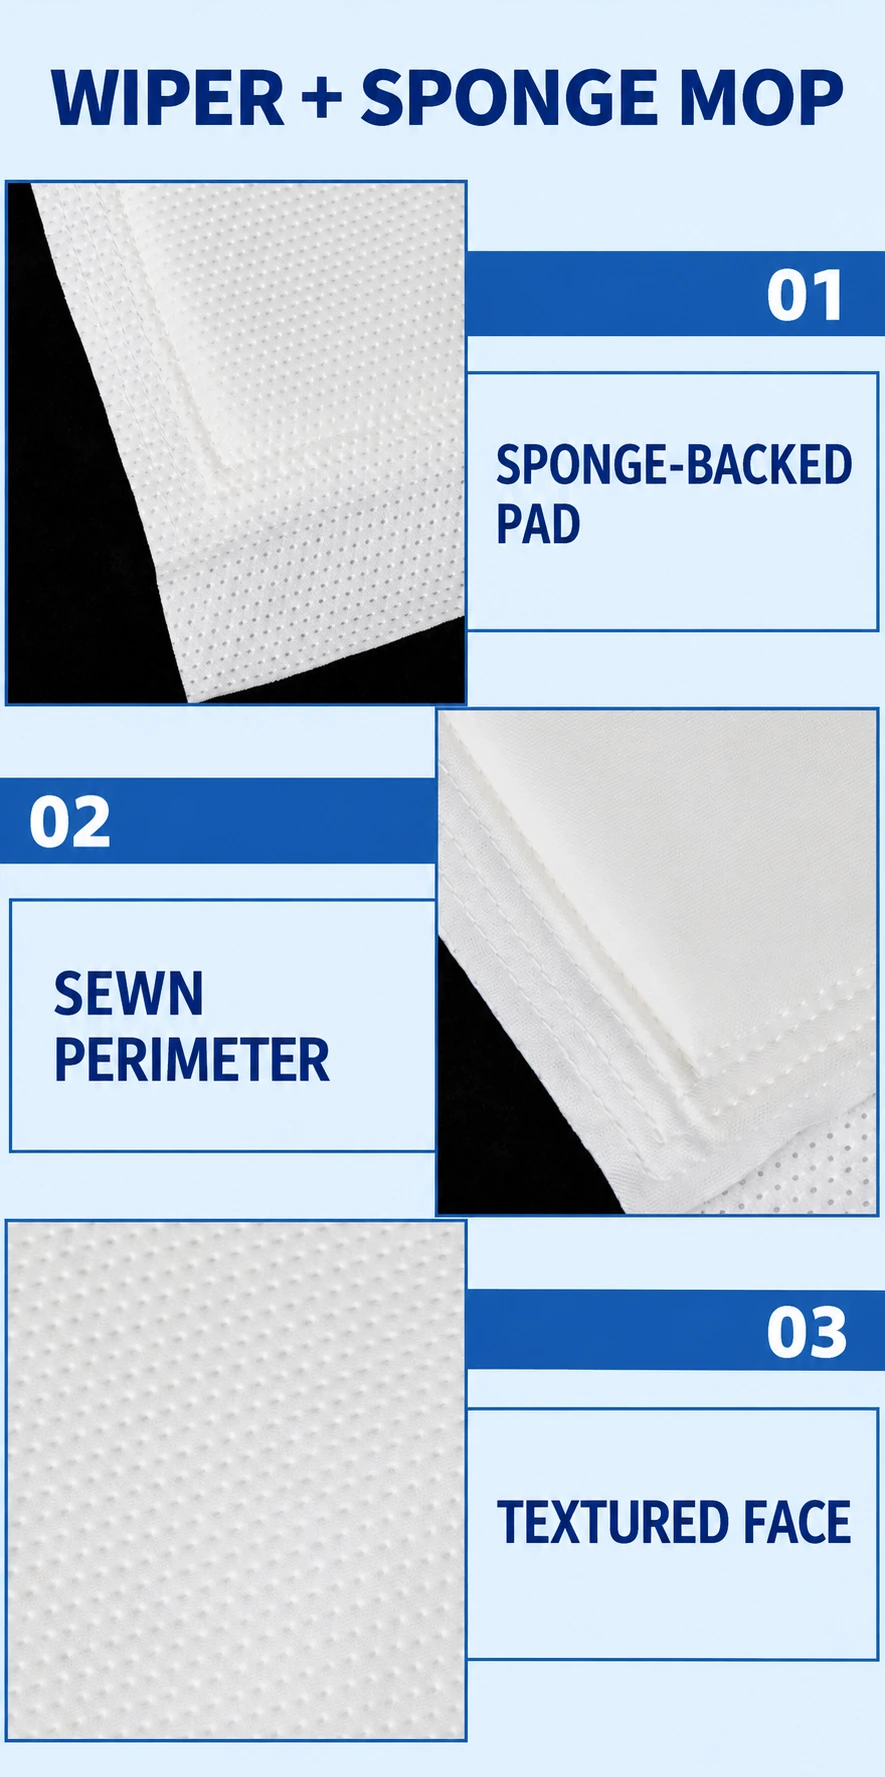
This flat mop combines a textured 1009D wiper face with a sponge layer. The photographed frame uses two clamps to retain the pad, keeping the fabric spread across the cleaning base while allowing pad replacement.
Retain the pad while supporting its sponge layer
The photographed mop frame has two external clamps and a central pivot. The pad spreads beneath the base, with its fabric edges retained above it. The sponge layer adds a compressible backing behind the textured wiper face, while the frame supports the pad during a cleaning pass.
Clamping should secure the fabric without bunching the working face or damaging the sewn perimeter. A pad that is too small may pull against the clamps; an oversized pad can fold under the base. Select the pad and frame together rather than treating all flat mop refills as interchangeable.
Inspect the pad from both sides
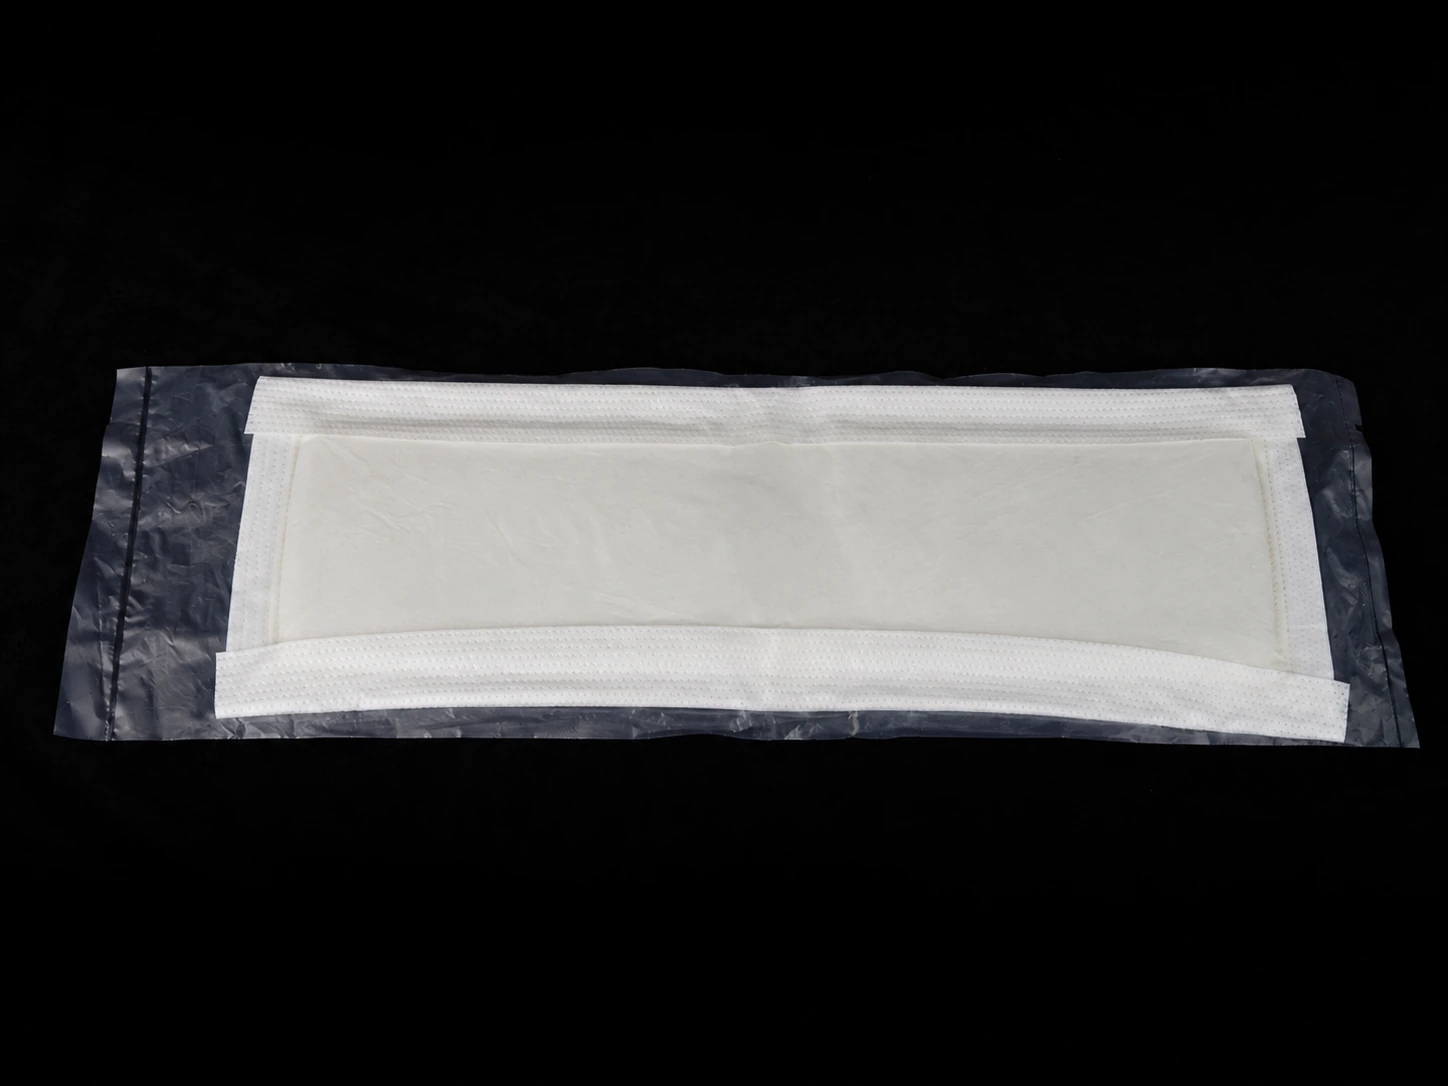
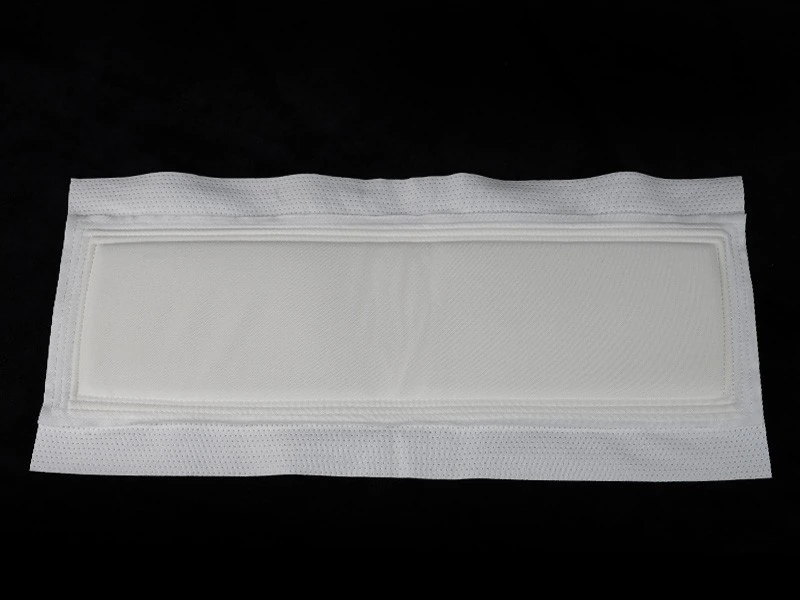
The reverse view shows the central sponge section and its surrounding fabric border. The face view shows the textured material that contacts the surface. Together, these views help distinguish this construction from a double-layer cloth cover with end pockets.
Before fitting
Check that the sponge section lies flat and the perimeter seam is intact. Position the pad centrally so that both clamps retain an even amount of fabric. After closing the clamps, move the head through its working angle and check that the pad remains spread across the base.
During the cleaning cycle
The inner sponge can remain wet after the visible face has changed appearance. Define preparation, collection and any reuse process for the whole pad. A worn fabric face, separated seam or exposed sponge is a reason to replace the pad rather than continue using the remaining cloth.
Pad dimensions, frame matching and packaging can be customized to suit the cleaning process.