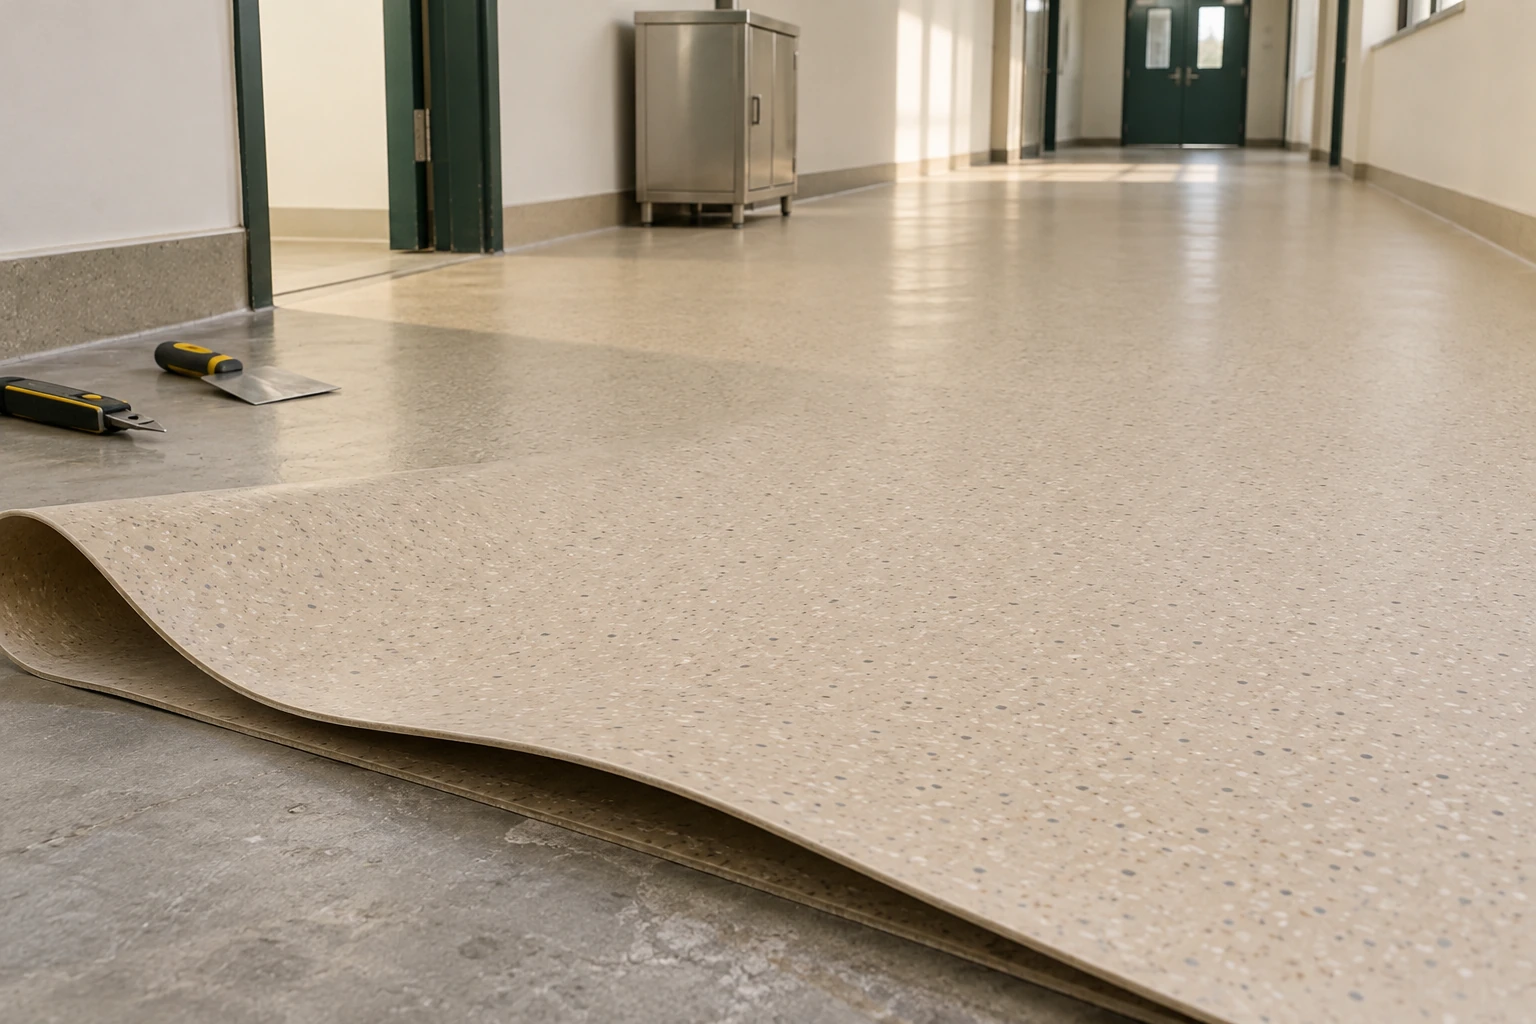
PVC Flooring
pvc flooring sheet
| Homogeneous sheet, W × L | 2 × 27.5 m at 1.5 mm; 2 × 20 m at 2.0 mm; 2 × 15 m at 2.5 mm |
|---|---|
| Layered sheet option | 2 × 20 m; 2.0 mm overall with a 0.7 mm wear layer |
| Face selection | Smooth or duty-specific texture; selected color and pattern |
| Joints | System-compatible seam treatment, including heat welding where specified |
| Perimeter | Flat termination, protected transition or supported cove |
| Installation materials | Substrate preparation products, compatible adhesive and matching junction accessories |
The listed formats belong to different constructions. Select the complete sheet system and installation method together, including any moisture-management and movement-joint details.
PVC flooring sheet creates broad floor areas with fewer individual pieces than a tile finish. It is especially useful when the layout can place seams and wall junctions where they are accessible to install, inspect and clean. The sheet still depends on the floor beneath it for support.
Turn a roll width into a room layout
Lay out the sheet runs on a measured plan before ordering cut lengths. The plan should include door recesses, columns, wall offsets and any material that turns up into a cove. A simple room-area calculation misses those details and can leave the installer short of a useful full-width piece.
Seam positions should be practical to prepare and finish. Avoid placing a seam where access will be blocked before installation is complete. Around fixed machinery, coordinate the sequence so that the floor can be bonded and its edges finished without leaving an unreachable strip.
A broad sheet follows the support beneath it
Vinyl does not bridge a weak patch or make an uneven base flat. Surface preparation should address moisture, contamination, strength and smoothness using a compatible system. Trying to hide a defect under a larger continuous sheet may make the later repair more disruptive because more bonded material has to be disturbed.
Handle and bond without trapping problems
Bring the material and work area to the conditions required by the selected product before fitting. Unrolling a cold or tightly stored sheet and immediately forcing it into a final position can make accurate fitting difficult. Provide a clear, clean area where the material can be handled without damaging its edges.
The adhesive method must suit the sheet backing, supporting floor and operating conditions. Working time and pressure application are part of the installation procedure. A dry-looking face does not prove that the bond underneath is ready for carts or heavy equipment.
Keep building movement joints distinct from ordinary sheet seams. A welded seam joins flooring edges; it is not a substitute for a detail intended to accommodate movement of the structure.
At the wall
A supported cove can make the floor-wall junction easier to clean. Its shape, upper termination and ends at doorframes should be coordinated with the wall finish. A cove cut around an obstruction after installation can create a new exposed edge unless that junction is deliberately completed.
At the next floor
A transition should protect the sheet edge and suit the traffic crossing it. Consider the wheel approach, level difference and the cleaning method on both sides. A threshold chosen for appearance alone may leave a narrow recess that collects debris or water.
Leave a record for future alterations
Retain the sheet identity, batch, seam method and adhesive details. Mark service openings and spare material clearly so that a later machine move does not turn into a search for a visually similar but incompatible finish. The roll ordering plan can also identify useful spare lengths for those future repairs.
Sheet layout, finish and perimeter accessories can be customized to the room geometry and cleaning requirements.