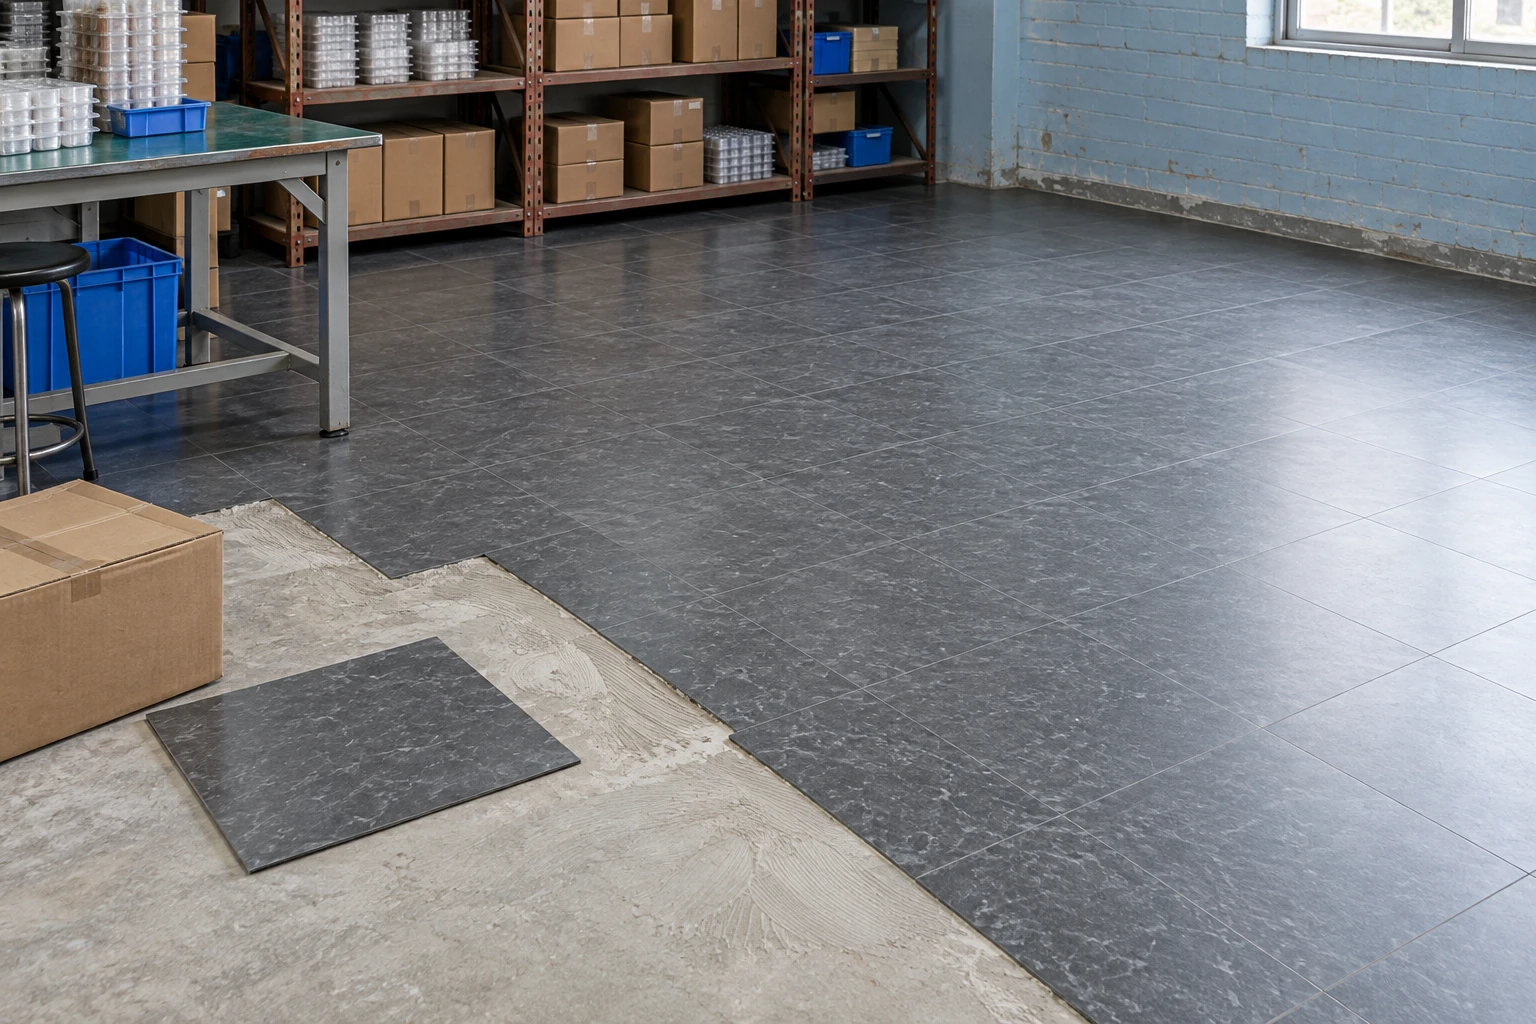
ESD Vinyl Flooring
esd vinyl flooring tiles
| Bonded square tiles, W × L | 608 × 608 or 615 × 615 mm; 2.0 mm overall thickness |
|---|---|
| Larger tile option, W × L | 615 × 1,230 mm in selected bonded systems |
| Modular alternative, W × L | 607 × 607 mm; 10.3 mm overall thickness in an interlocking system |
| Electrical grade | Conductive or dissipative construction selected for the control plan |
| Layout accessories | Compatible adhesive or interlocking connections, grounding components and perimeter transitions |
| Joint finish | System-specific closed joints; heat welding where the chosen construction and hygiene duty require it |
Bonded and interlocking formats use different floor build-ups. Do not mix them within a continuous system without a designed transition and electrical assessment.
A field of ESD vinyl flooring tiles has to operate as a continuous working floor across benches, aisles and equipment positions. The layout affects cut pieces and repair access, while the installation system determines how the finished area connects electrically and carries daily traffic.
Set out the working area before the first row
A tile grid should be checked against the room perimeter, columns, bench feet and the routes that cannot be obstructed. Starting neatly against one wall can leave narrow slivers at the opposite side. Establishing the main axes first allows cut pieces to be distributed deliberately and keeps awkward joints away from prominent thresholds.
Check the tile direction and batch instructions before laying out a large area. A change in orientation can make adjacent pieces appear different even when they belong to the same color. Reserve identified spare material for later repairs and record which batches serve which zones.
Sequence the installation around connected systems
- Prepare the base. Assess moisture, strength, flatness and existing movement joints. An adhesive-free option still needs an appropriate supporting surface.
- Agree the electrical layout. Coordinate ground connections with the selected floor system and the site's electrical work. Keep a record of their positions before they become concealed.
- Complete manageable sections. Respect adhesive working time or the modular joining procedure. Check alignment early, when a small error is easier to correct.
- Finish the boundaries. Doorways, cable penetrations and changes in floor height need details suited to the actual cleaning and traffic.
- Release the area after acceptance. Allow the required conditioning or curing, inspect joints and transitions, and complete the agreed electrical checks.
Refurbishing beside active benches
Local access may favor a modular construction that can be installed in sections. Its higher build-up can, however, affect door clearance, ramps and the height of mobile workstations. The practical benefit depends on those interfaces, not just on removing adhesive from the method.
Temporary boundaries also need attention. Keep staff and carts away from unfinished edges, and ensure that any area returned to operation has its required electrical continuity. A partly completed room should not be treated as one accepted ESD floor.
Fitting an empty production area
A clear room allows more freedom to optimize a bonded tile layout and arrange grounding points before equipment arrives. Protect the completed finish while machinery is positioned: dragging a heavy base can damage a floor that is fully adequate for its later operating traffic.
Use the equipment layout to identify likely future access routes. A maintainable tile arrangement leaves room for localized replacement without forcing unnecessary disturbance beneath fixed machinery.
Give maintenance a usable floor plan
Mark the floor construction, tile direction, batch zones, ground points and transition details on the handover plan. Pair that record with the approved cleaning method and verification procedure. When a section is modified, update the plan and evaluate the changed area rather than relying on the original acceptance record for a floor that no longer has the same configuration.
The tile layout, phasing, edge details and grounding provisions can be customized to the manufacturing floor and its operating schedule.