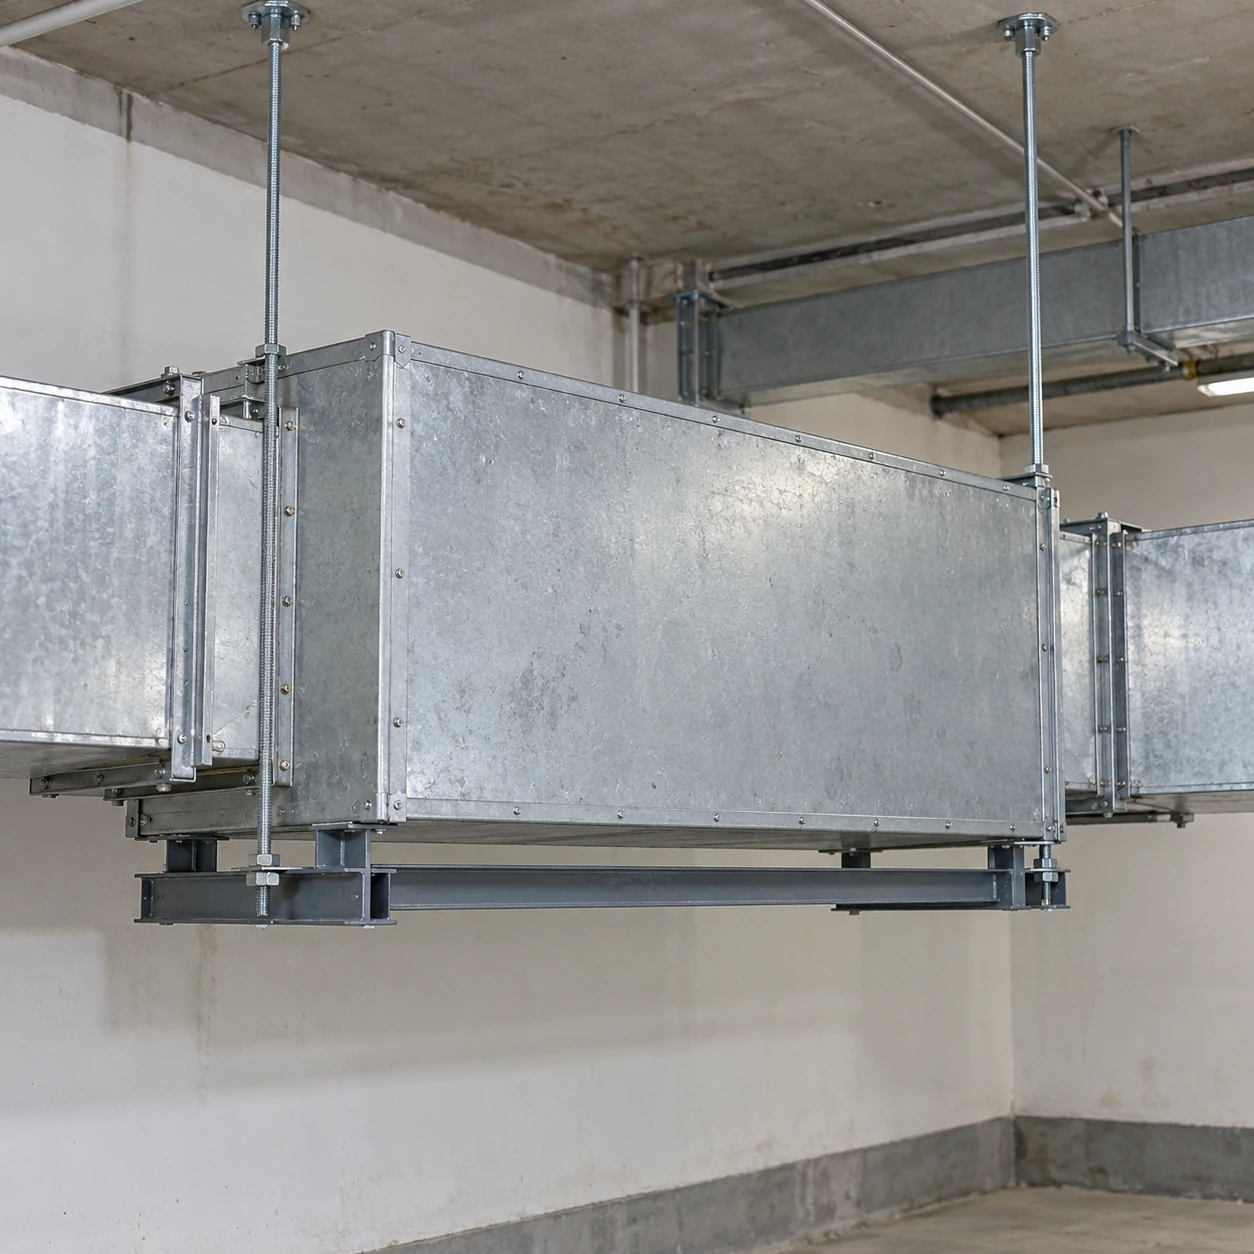
Duct Silencers
duct silencer installation
| Brand | shengtongJH |
|---|---|
| Supply format | Silencer with agreed duct connection and support interfaces |
| Rectangular opening options | 300 × 300 / 500 × 400 / 600 × 600 mm W × H |
| Rectangular body lengths | 500 / 1000 / 1500 mm |
| Circular alternatives | 160 / 200 / 250 / 315 mm bore, with matched connections |
| Interface details | Flange profile, hole arrangement or spigot engagement agreed before supply |
| Support method | Independent hangers or cradles at designated casing positions |
| Joint sealing | Compatible gasket and closure materials selected for duct duty |
| Access options | Removable duct section or inspection provision |
| Thermal option | External insulation with serviceable vapour-sealed details |
| Delivery information | Overall envelope, lifting points where provided and handling instructions |
Select one coherent rectangular or circular configuration. Support loads and fixing design must use the supplied assembly weight and the site structure.
Body dimensions, end joints, access provisions and supplied connection accessories can be customized to the installation route.
Duct silencer installation needs a coordinated component and connection plan. Supports, adjacent fittings and service access influence the result as much as whether the casing fits between two duct ends.
Settle the interfaces before the unit arrives
Record the duct opening and flange arrangement at both ends, including any offset. Confirm that the selected silencer has the required orientation and that its full envelope can reach the installation point. Access restrictions can require a different delivery sequence or a removable adjacent section.
Allow space for connection hardware and thermal insulation. A drawing showing only the bare casing can hide clashes with hangers or nearby services. Where the route includes a bend or transition, review its effect on inlet flow with the selected silencer data rather than assuming an isolated test condition will be reproduced.
A practical installation sequence
Prepare a supported location
Isolate the affected equipment before work. Use suitable handling arrangements and structurally designed supports. Keep loads off thin adjacent ducts, fan casings and acoustic splitters.
Make aligned, sealed joints
Connect without forcing mismatched flanges together. Select compatible sealing materials and keep fasteners from damaging internal linings. Check that the clear passage remains unobstructed.
Restore access and protection
Complete the specified insulation and vapour details without covering service fasteners permanently. Remove packaging and construction debris before returning the system to operation.
Check operation at the intended airflow
Confirm airflow and system balance after the new component is fitted. Investigate unexpected vibration, rattling or whistling rather than assuming these are normal silencer effects. Where acoustic acceptance is specified, compare measurements at documented operating conditions.
Keep the product drawing and technical selection with the maintenance record. Staff should know which access panels can be opened and which cleaning methods suit the lining. For sourcing through shengtongJH, agree whether transitions, gaskets and support accessories are included, because a bare silencer order does not automatically cover the complete installed assembly.
Body dimensions, end joints, access provisions and supplied connection accessories can be customized to the installation route.